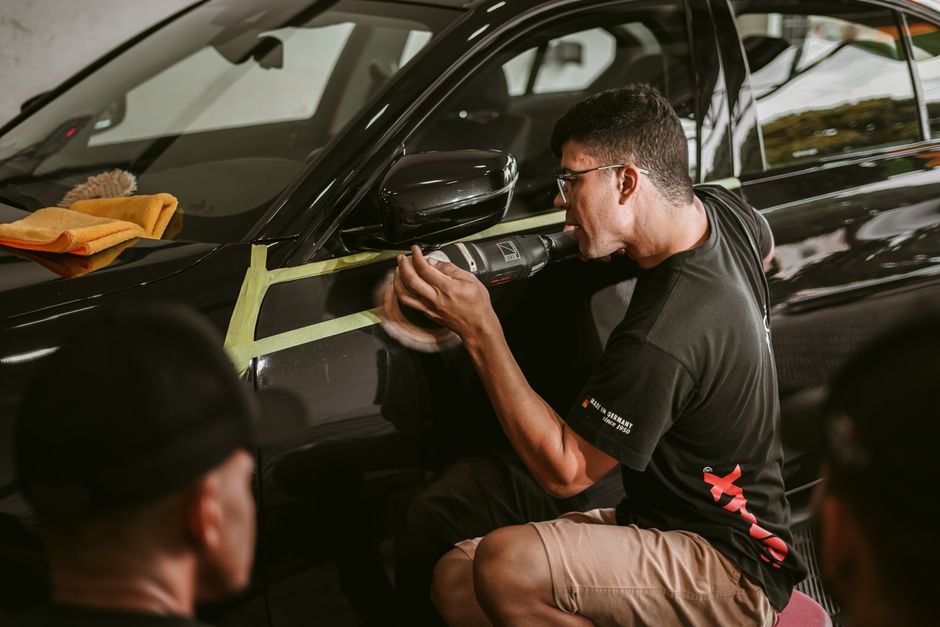
How to Polish Car Paint Like a Professional
Polishing car paint is a meticulous process that aims to enhance gloss and remove surface imperfections. For enthusiasts and professionals alike, understanding the nuances of machine polishing can lead to more consistent and satisfactory results. This guide outlines a step-by-step approach to polishing car paint, focusing on pad selection, compound application, and strategies to avoid common mistakes. Whether you are new to machine polishing or looking to refine your technique, the following information provides a framework for achieving a refined finish.
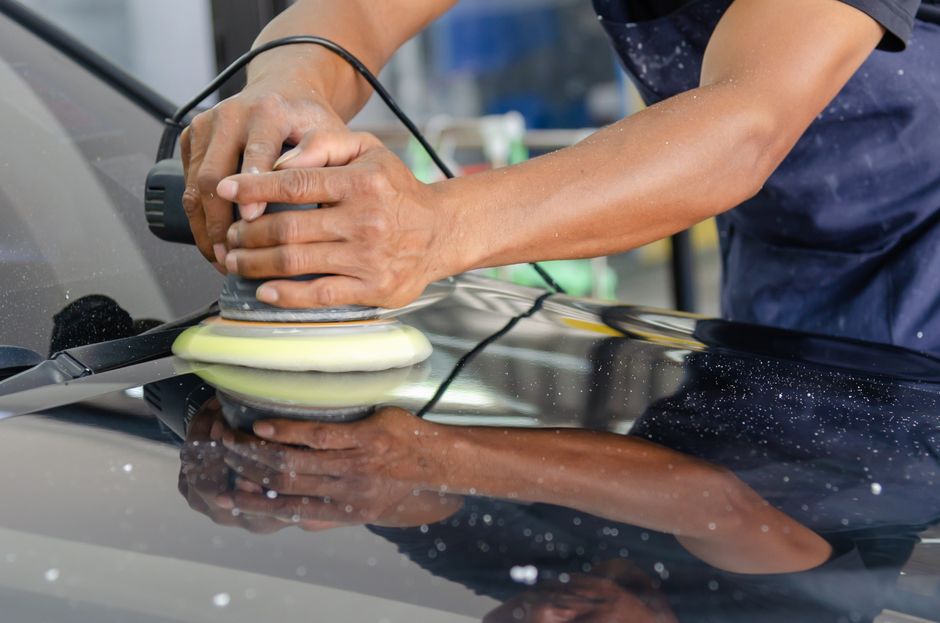
Machine polishing involves the use of a dual-action or rotary polisher to work a liquid compound or polish into the paint surface. The abrasive action gently levels the clear coat, removing defects such as swirl marks, light scratches, and oxidation. The process requires careful attention to technique, product choice, and environmental conditions. By following a structured approach, you can minimize risks and work towards a uniform, high-gloss appearance.
Before beginning, it is essential to assess the paint condition and set realistic expectations. Not all defects can be safely removed, and some may require professional intervention. The goal is to improve the paint’s appearance while preserving as much clear coat as possible. With that in mind, let’s explore the key steps and considerations for machine polishing.
Understanding the Basics of Machine Polishing
Machine polishing is a paint correction process that uses mechanical action to refine the clear coat. The polisher moves a foam or microfiber pad across the paint while a liquid compound or polish provides lubrication and abrasion. The combination of pad, product, and machine motion determines the level of cut and finish. Dual-action polishers are often recommended for beginners because their eccentric orbit reduces the risk of burning through the paint, whereas rotary polishers offer more cutting power but require greater skill.
The choice between dual-action and rotary depends on the task at hand. For heavy defect removal, a rotary may be more efficient, but for finishing and light correction, a dual-action is safer. Many professionals use both, selecting the tool based on the paint’s hardness and the desired outcome. Regardless of the machine, maintaining a consistent speed and pressure is crucial. Too much pressure can generate excess heat, potentially damaging the clear coat, while too little may not effectively remove defects.
It is also important to consider the working environment. Polishing should be done in a clean, well-lit area to see the defects and monitor progress. Contaminants like dust can be picked up by the pad and cause marring. Therefore, thoroughly washing and decontaminating the vehicle before polishing is a logical first step. Additionally, using a paint depth gauge can help determine the thickness of the clear coat, informing how aggressive you can be.
Finally, understanding the difference between compounding and polishing is key. Compounding removes deeper defects and leaves a slightly hazy finish, while polishing refines the surface to a high gloss. The process often involves multiple steps, starting with a compound and finishing with a polish. Each step uses different pads and products to achieve the desired result. By grasping these fundamentals, you can approach machine polishing with greater confidence and precision.
Selecting the Right Pads and Products
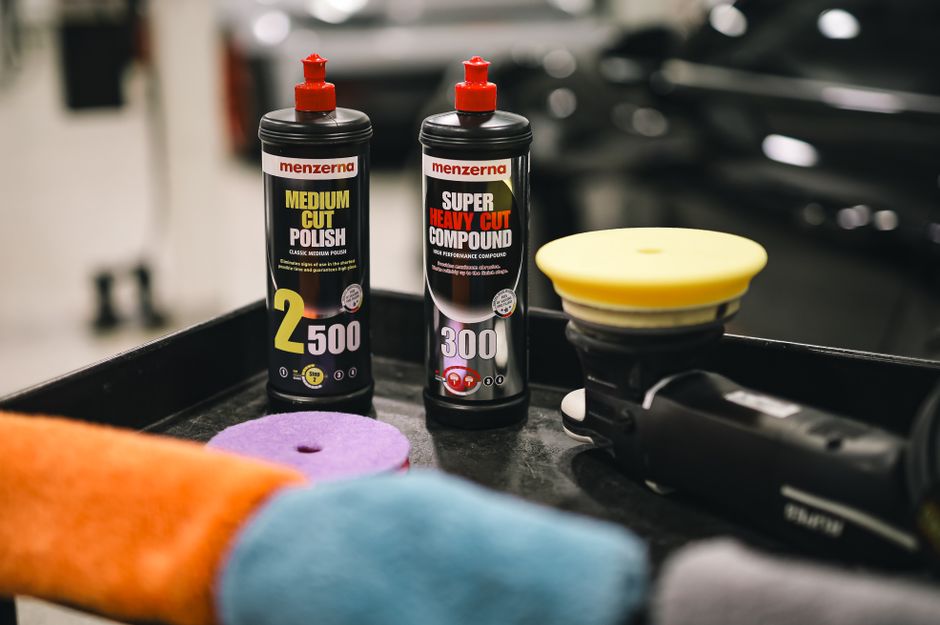
Pad selection is a critical factor in machine polishing. Pads come in various materials, sizes, and abrasiveness levels. Foam pads are the most common and are available in different colors indicating their cut level. For example, yellow or orange foam pads typically offer heavy cutting, white pads are for polishing, and black or blue pads are for finishing. Microfiber pads provide more cut than foam and are often used for compounding. The condition of the paint, the severity of defects, and the machine type influence which pad to choose.
When selecting a compound or polish, consider the abrasive technology and its intended use. Compounds contain stronger abrasives for removing deep scratches and oxidation, while polishes have finer abrasives for enhancing gloss. Some products are designed to be used with specific pads, so following the manufacturer’s recommendations can help achieve optimal results. It’s also wise to perform a test spot to determine the right combination of pad and product before working on the entire vehicle. This test spot reveals how the paint reacts and whether multiple passes are needed.
Pad size should match the polisher’s backing plate and the area being worked. Smaller pads (3-5 inches) are ideal for tight areas and curved panels, while larger pads (6-8 inches) cover more surface quickly on flat panels. However, larger pads may reduce the machine’s ability to maintain rotation, especially on dual-action polishers. Using too large a pad on a small machine can lead to poor correction. Therefore, matching pad size to the tool and task is essential.
Maintaining pads during use is equally important. Pads can become clogged with spent product and removed paint, reducing their effectiveness. Brushing the pad with a pad conditioning brush after each section can help remove residue. Additionally, rotating between multiple pads of the same type allows each pad to cool and prevents saturation. For best results, use clean pads for each step and replace them when they become worn or damaged.
Step-by-Step Polishing Process
The polishing process begins with preparation. After washing and decontaminating the vehicle, clay bar treatment removes embedded contaminants, leaving a smooth surface. Next, mask off trim, rubber, and any areas that should not be polished, using painter’s tape. This protects those surfaces from accidental contact with the polisher. Once masked, you can proceed with the compounding step if needed.
To start, apply a few pea-sized dots of compound onto the pad. With the machine off, spread the product over a small section (about 2×2 feet) at low speed. Then, increase the speed to the recommended setting and work the compound in overlapping passes—horizontal, vertical, and diagonal—until the product becomes clear or translucent. This indicates that the abrasives have broken down. Apply light pressure, letting the machine do the work; excessive pressure can cause heat buildup and pad failure.
After compounding, wipe off the residue with a clean microfiber towel and inspect the area under good lighting. If defects remain, repeat the compounding step. Once satisfied, move to the polishing step. Use a polishing pad and polish, following the same technique but with less pressure and perhaps a lower speed. Polishing refines the surface, removing any haze left by the compound. Work in smaller sections to ensure thorough coverage and consistent results.
For the final step, use a finishing pad and a fine polish or jeweling polish to maximize gloss. This step is optional but can enhance the paint’s depth and clarity. After polishing, wipe the panel with an IPA (isopropyl alcohol) solution to remove any oils left by the polish. This reveals the true condition of the paint and ensures that any remaining defects are visible. If the finish meets your expectations, apply a wax or sealant to protect it.
Common Mistakes to Avoid
One of the most common mistakes is using too much product. Excess compound or polish can splatter, create a mess, and actually reduce the cutting efficiency. Start with a small amount and add more if needed. Another mistake is applying too much pressure. Let the machine and abrasive do the work; pressing hard can generate excessive heat and damage the paint. Additionally, moving the polisher too quickly can prevent the abrasives from properly breaking down, resulting in ineffective defect removal.
Neglecting pad maintenance is another pitfall. Dirty or clogged pads can cause marring and inconsistent results. Clean pads regularly and replace them when they become worn. Also, avoid using the same pad for different products without cleaning, as cross-contamination can affect performance. Furthermore, not performing a test spot can lead to unexpected outcomes, especially on unfamiliar paint systems. Always test a small area first to determine the best combination of pad, product, and technique.
Overpolishing is a risk, particularly on edges and raised areas where the clear coat is thinner. Stay away from edges with the polisher or use lower speeds and lighter pressure. Taping off edges can provide a physical barrier. Finally, working in direct sunlight or on a hot surface can cause the polish to dry too quickly, reducing its effectiveness and potentially leading to holograms. Work in a shaded, cool environment whenever possible.
By being aware of these common mistakes, you can avoid setbacks and achieve a more professional result. Remember that patience and consistency are key. Rushing the process often leads to rework. Taking the time to refine your technique will pay off in the long run.
Final Inspection and Protection
After polishing, a thorough inspection is necessary to ensure the desired outcome. Use a bright, focused light source, such as a LED inspection light, to check for any remaining defects like swirl marks, holograms, or missed spots. View the paint from multiple angles to catch imperfections that might be invisible under normal lighting. If defects are found, spot-polish those areas as needed. Once the paint meets your standards, it’s time to protect it.
Protection can be achieved through various products, including waxes, sealants, or ceramic coatings. Each offers different levels of durability and gloss. Waxes provide a warm glow but may need frequent reapplication, while sealants and coatings offer longer-lasting protection. Choose a product that aligns with your maintenance preferences and driving conditions. Apply according to the manufacturer’s instructions, ensuring even coverage. Allow the product to cure properly before exposing the vehicle to the elements.
Regular maintenance after polishing will help preserve the finish. Wash the car using a pH-neutral shampoo and a soft wash mitt, and dry with a clean microfiber towel to avoid reintroducing scratches. Periodic inspections and reapplication of protection will keep the paint looking its best. By following these steps, you can maintain the results of your polishing work for months to come.
In conclusion, machine polishing car paint is a skill that develops with practice. By understanding the tools, products, and techniques, and by avoiding common mistakes, you can achieve a professional-level finish. Always prioritize the health of the clear coat and work methodically. With patience and attention to detail, your polishing efforts can yield impressive results.